Build Your Own Workshop/Garage Bench
What you will need...
- Hex key supplied
- Electric Screwdriver
- Tape Measure
Product Summary
Tube Clamp Bench, great for use in a workshop or garage. Could also be used in a kitchen as a modern contemporary piece. Made from 33.7mm galvanised tube and clamps with a scaffold board top and shelving, the benches are 2.5m long, 900mm high and 675mm deep.
They are strong, stable, look great and are easy to assemble.
Please note that the image above shows the shelves with 3 scaffold boards but the kit is supplied with 3 scaffold boards for the bench top and 2 scaffold boards for each shelf.
To see the kit for the garage bench click here for a pdf to view online, download or print.
IMPORTANT: These kits are NOT pre-assembled but are supplied with all parts for you to assemble on site.

Parts
Step by Step Guide - Workshop Bench

Step 1
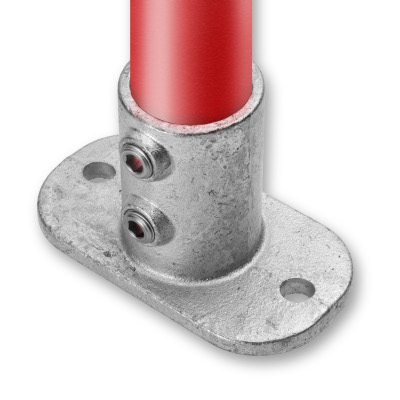
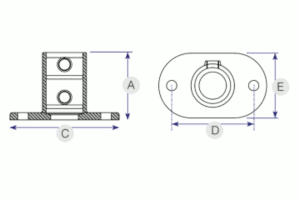
Take the Base Plate (132) and slide the 850mm length of galvanised tube into the fitting until it hits the bottom.
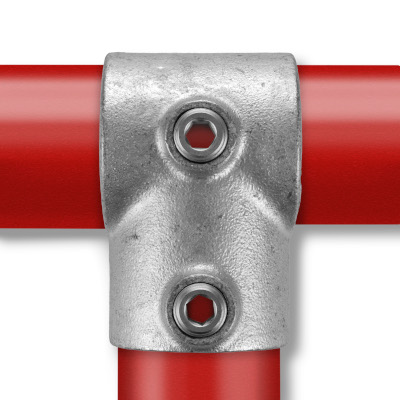
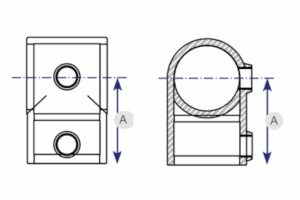
Using the hex key, tighten the grub screws on the fitting to the tube so it remains attached. Next slide two Short Tees (101) down the tube ensuring one hits the top of the Base Plate (132) and the other can be placed anywhere along the tube as this will be used to position your top shelf.
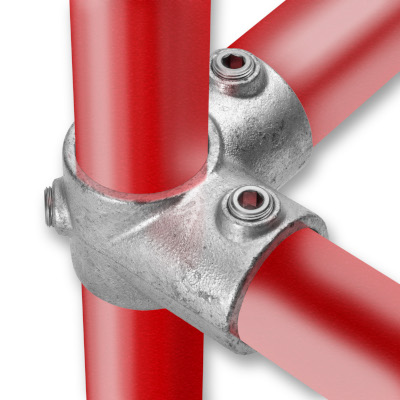
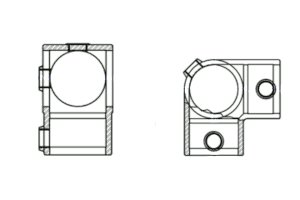
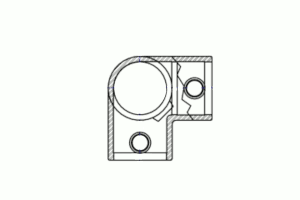
Finally fit the 3 Way 90 Degree Elbow (128) you can then tighten the grub screws and your first upright post is complete. Repeat this process three more times to construct each of the corner legs.
Step 2
Take the Base Plate (132) and slide the 850mm length of galvanised tube into the fitting until it hits the bottom. Using the hex key, tighten the grub screws on the fitting to the tube so it remains attached.
Next slide two Short Tees (101) down the tube ensuring one hits the top of the Base Plate (132) and the other placed along the tube as in step 1 as this will be used to align your top shelf.
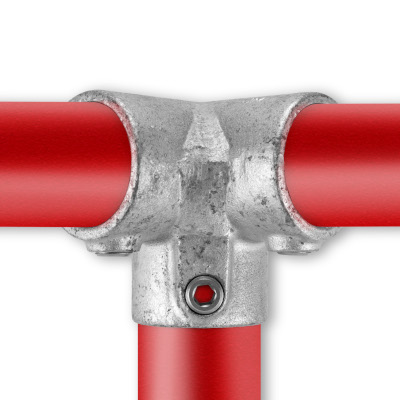
Finally fit the 3 Way Through (116) to the top of the tube and tighten the grub screw. Repeat this process three more times to construct each of the middle uprights.


Step 3
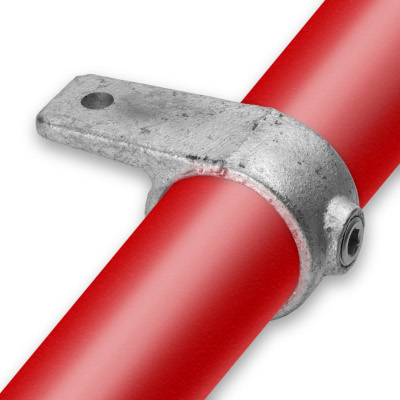
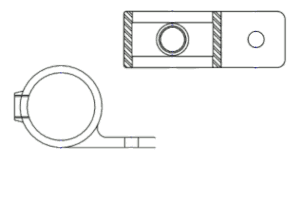
Take 8 lengths of tube at 550mm and place two Single Lugged Brackets (199) on each tube roughly 112mm from the edge and tighten the grubscrews. These lengths can now be inserted into the Short Tee (101) positioned on the uprights.
Please ensure that the Single Lugged Brackets (199) are pointing inwards as your scaffold board shelf will sit on these.
Step 4
Take 2 lengths of tube at 550mm and place 3 Single Lugged Brackets (199) on each tube, two 112mm from the edge and one centrally and tighten the grubscrews.
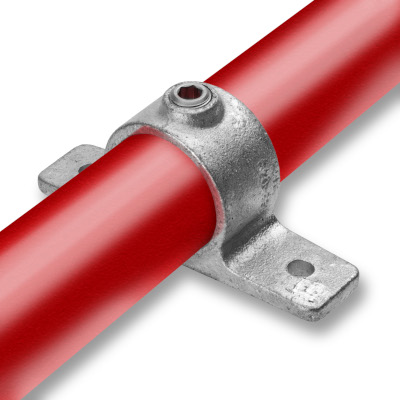
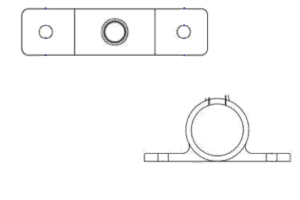
These lengths can now be inserted into the 3 Way 90 Degree Elbows (128) positioned at the top of the uprights in each corner. Take the remaining 2 lengths of tube at 550mm and place 3 Double Lugged Brackets (198) on each tube, two 112mm from the edge and one centrally and tighten the grubscrews.
These lengths can now be inserted into the 3 Way Through (116) positioned at the top of the uprights in the middle of the frame.


Step 5
Take the final lengths of tube at 2360mm and place inside the 3 Way 90 Degree Elbows (128) Slide the middle uprights along the tube so they are roughly 500mm from the corner uprights and tighten the grubscrews.
Place the final corner uprights into the 2360mm tubes and the frame is complete.
Step 6
To complete the bench, place your 500mm scaffold boards onto the shelves of the frame ensuring they sit centrally on top of the Single Lugged Brackets (199) and secure using the screws provided.
Position the 2500mm scaffold boards on the top of the frame, ensuring they sit centrally on top of the Single Lugged Brackets (199) and Double Lugged Brackets (198) and secure using the screws provided.
Step 7
Finally go around the frame again and ensure all grubscrews are securely fastened to the tubes. You now have a completed Workshop/Garage Bench.
IMPORTANT: Before use please check all grubscrews are tightly secured to the tubes!