How to Drill Through Angle Iron
5 May 2025


Drilling through angle iron is a task that comes up time and time again, whether you're building a frame, installing brackets, or tackling a custom fabrication project.
Luckily, with the right tools and a bit of know-how, it’s a straightforward job. But angle iron is made from tough mild steel, so if you don’t prepare properly, you risk damaging your drill bits – or worse, the metal itself.
Article in Brief
Angle iron is made from tough mild steel – so choosing the right drill bit and drill speed is crucial.
Use HSS or cobalt drill bits for clean, precise holes.
Always secure your angle iron with clamps and use cutting fluid to reduce heat and friction.
Stay safe with goggles, gloves, and proper clothing.
Get your cut-to-size mild steel angle from The Metal Store with free cutting and next-day delivery.
Tools and materials you'll need
Before you start drilling, make sure you have everything ready:
- Power drill (corded for best results, cordless if high-powered)
- High-speed steel (HSS) or cobalt drill bits
- Cutting fluid or light oil
- Clamps or a bench vice
- Centre punch and hammer
- Safety goggles and gloves
Step-by-step guide to drilling through angle iron
Step 1: Mark your drilling point
First, measure carefully and mark where you want to drill. Then use a centre punch and hammer to create a small dimple at the mark.
Step 2: Secure the angle iron
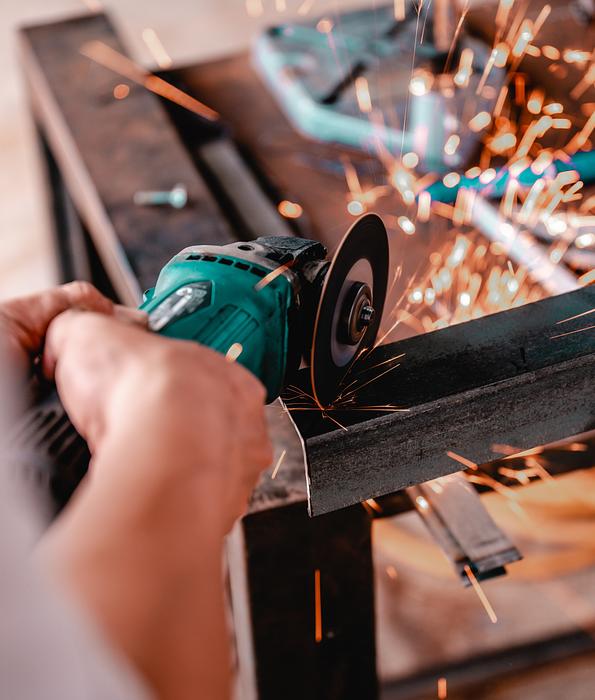
Step 3: Choose the right drill bit and speed
✅ High-speed steel (HSS) bits are great for general drilling in mild steel.
✅ Cobalt drill bits are even better for tougher, thicker sections.
✅ Always drill at a slow to medium speed – too fast, and you'll overheat the bit and ruin your workpiece.
Step 4: Use cutting fluid
Before drilling, apply cutting fluid or light oil directly to the mark. This reduces heat, prevents your bit from dulling, and gives a cleaner cut.
Pro tip: Reapply cutting fluid if you're drilling deeper holes, especially in thicker angle iron.
Now that you've got your setup ready and your drilling point marked, it’s time to actually start drilling. Here’s how to do it cleanly and safely:
Step 5: Drill through the angle iron
✅ Start slowly – Position the drill bit in the centre-punched dimple and begin drilling at a low speed. The goal is to let the drill bit bite into the steel without rushing.
✅ Apply steady pressure – Press firmly but gently. If you push too hard, you’ll risk snapping the bit or damaging the steel.
✅ Clear the hole as you drill – Every so often, lift the bit slightly to remove any metal shavings. This helps keep the bit cooler and prevents clogging.
Pro tip: If you notice smoke, squealing sounds, or if the bit feels like it's struggling, back off, let it cool down, and reapply cutting fluid. Heat is your enemy when drilling mild steel.
Step 6: Deburr the hole
Once you've drilled through the angle iron, there will likely be sharp edges or burrs around the hole. These can be dangerous and can interfere with bolts or fittings.
✅ If you're attaching bolts or screws, a cleaner hole will help everything sit flush and securely.
Pro tip: A quick deburring job gives your project a professional finish and prevents cuts or snags later on.
Additional tips for perfect drilling results
- Wear your safety gear at all times – metal shavings can be sharp and unpredictable.
- Use sharp drill bits – Dull bits don’t cut cleanly, create more heat, and can cause messy holes.
- Step drill for large holes – Start with a smaller bit and gradually step up to the final hole size.
- Double-check your clamps – Vibration from drilling can loosen clamps. Make sure your angle iron stays firmly in place.
- Clean your tools after use – Wipe down drill bits and drills to remove any cutting fluid and metal dust. It keeps your tools lasting longer.
Common mistakes to avoid
❌ Drilling too fast – High speeds create too much heat, dull your bits quickly, and risk damaging the metal.
❌ Not centre-punching – Skipping this step makes it far more likely that your bit will skid across the surface.
❌ Forgetting cutting fluid – Dry drilling into steel massively shortens your bit’s lifespan and leads to rough, uneven holes.
❌ Poor clamping – Movement during drilling can ruin the hole and even cause injury.
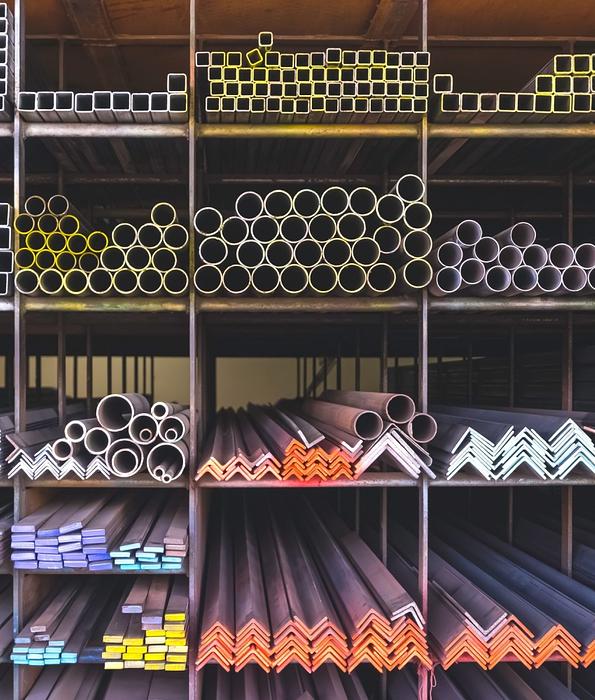
Get your mild steel angle from The Metal Store
Now you know exactly how to drill through angle iron like a pro. But before you start your next project, make sure you’ve got the right material.
At The Metal Store, we offer cut-to-size mild steel angle with unlimited free cutting, so you get the perfect length every time – no extra hassle. Whether you're a DIYer or a seasoned tradesperson, you’ll also benefit from our bulk discounts on larger orders and next-day delivery across the UK.
Ready to get started? Order your mild steel angle today and make your next project faster, easier and built to last!