


Build Your Own Handrail
What you will need...
- Hex key supplied
- Drill with 12mm masonry drill bit.
- Floor fixings M12 x 100mm Through bolts or M14/12 x 100mm Anker bolts (Thunder Bolts)
- 19mm Spanner or Socket
- Hammer
- Spirit Level
- Tape Measure
Product Summary
Easy to order and assemble these handrail kits, also known as key clamp or modular handrail, save time and increase onsite productivity. Our handrail kits are comprised of the tube and fittings necessary ready for you to assemble onsite. They are available in three tube diameters and come supplied with grub screws and an allen key. Our handrail kits are supplied in galvanised mild steel meaning they are suitable for outdoor use.

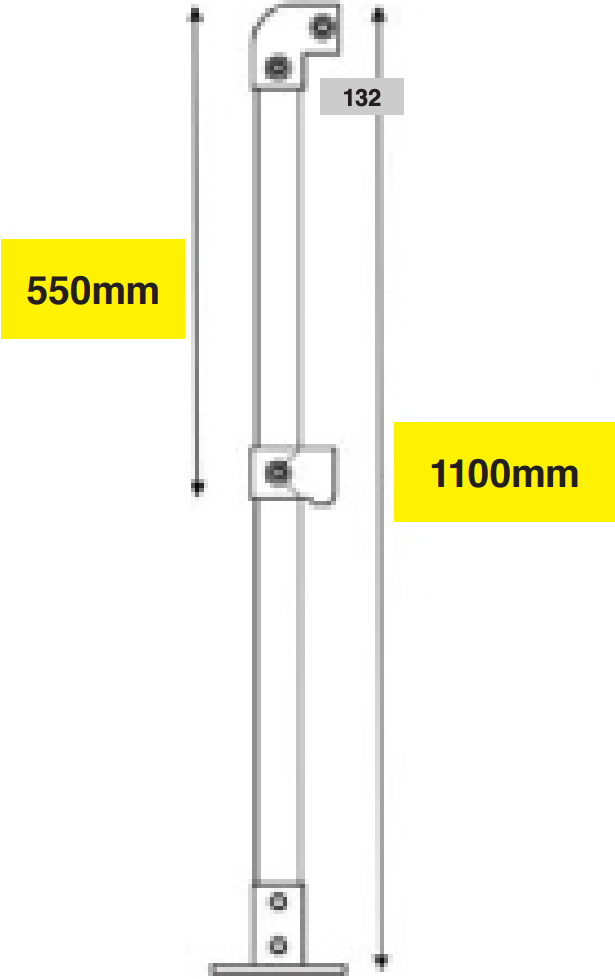
END SECTION
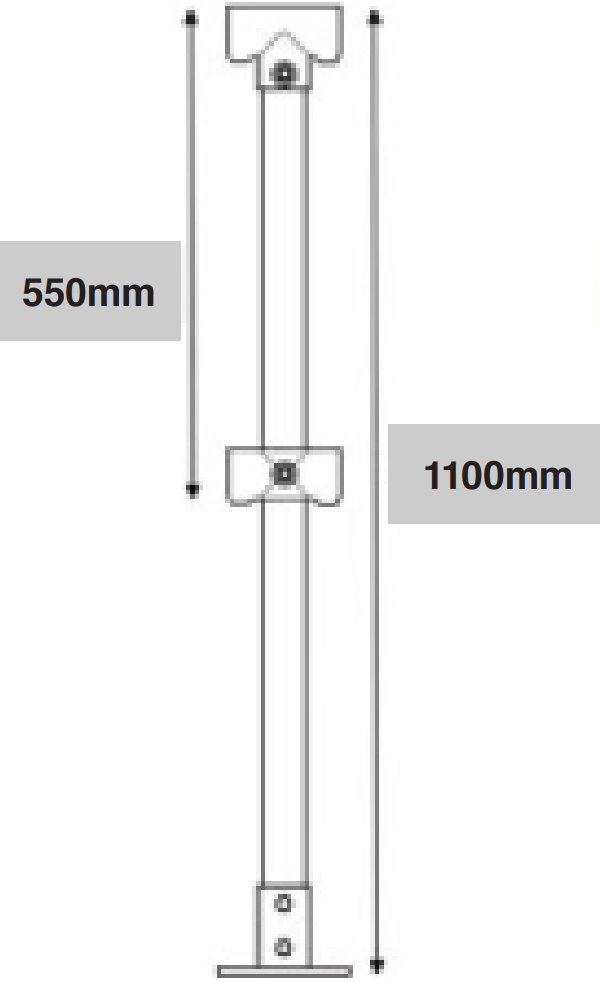
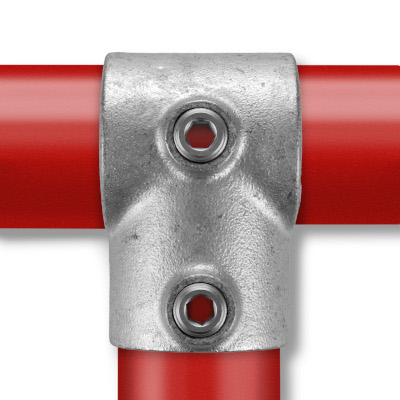
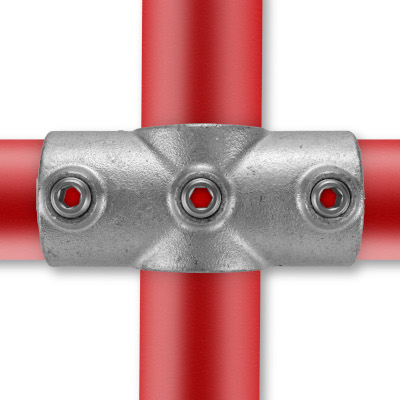
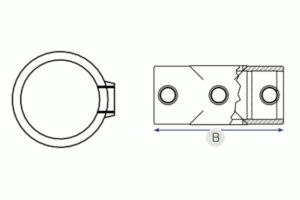
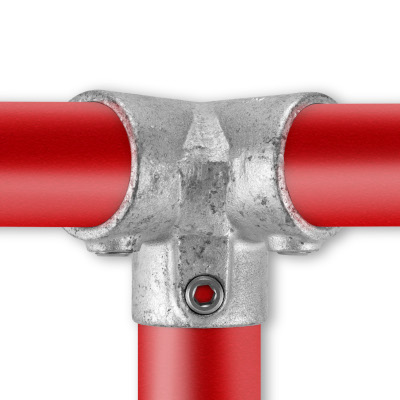
MID SECTION
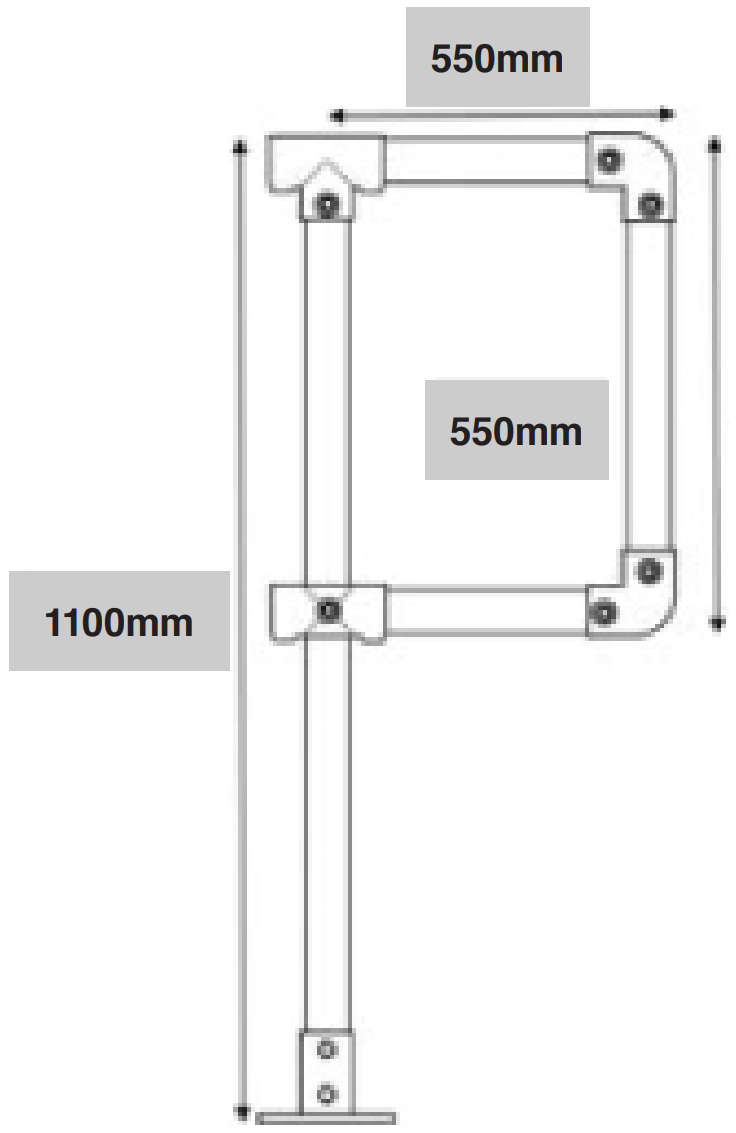
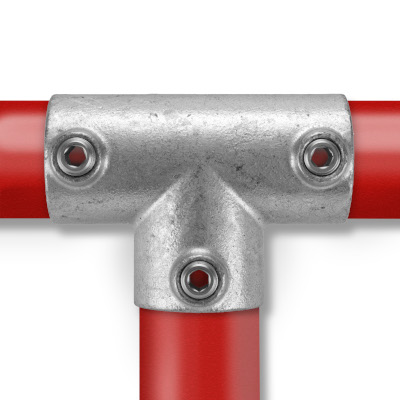
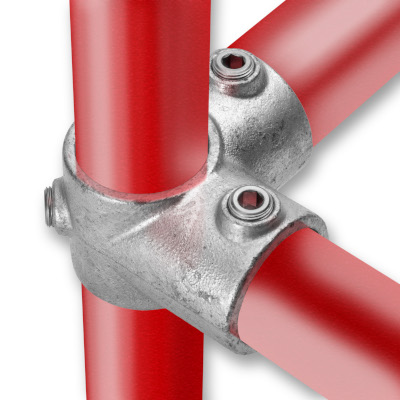
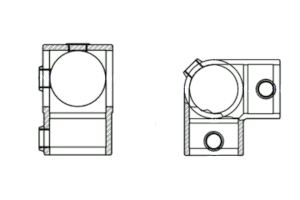
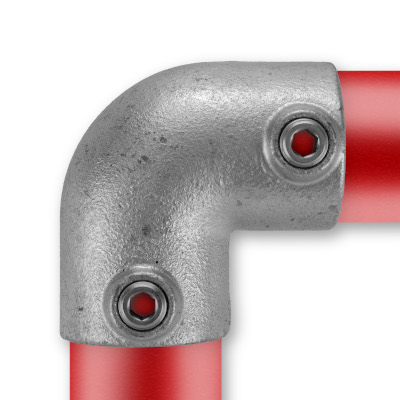
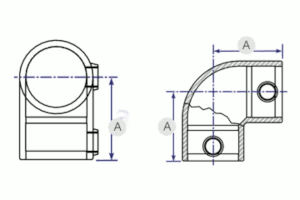
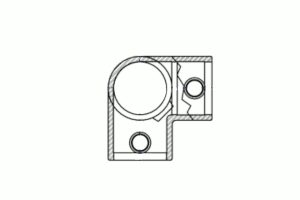
90 DEGREE CORNER SECTION
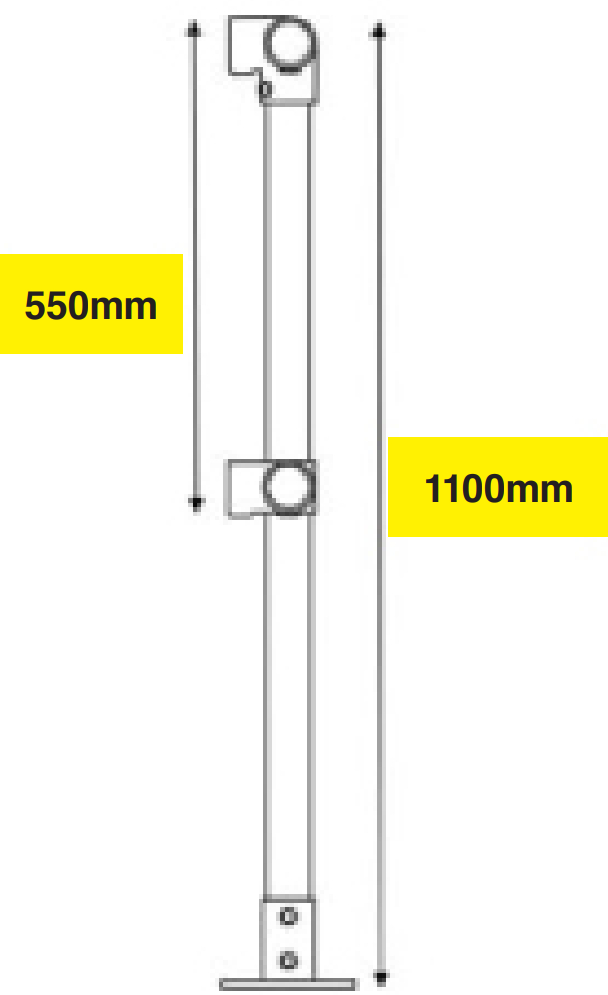
END DEE SECTION
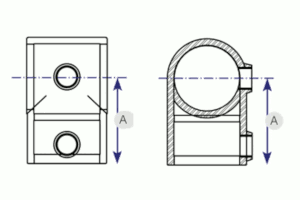
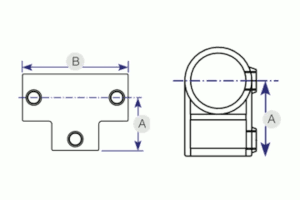
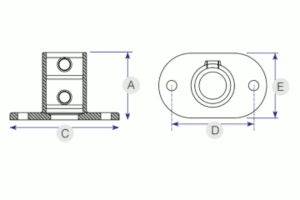
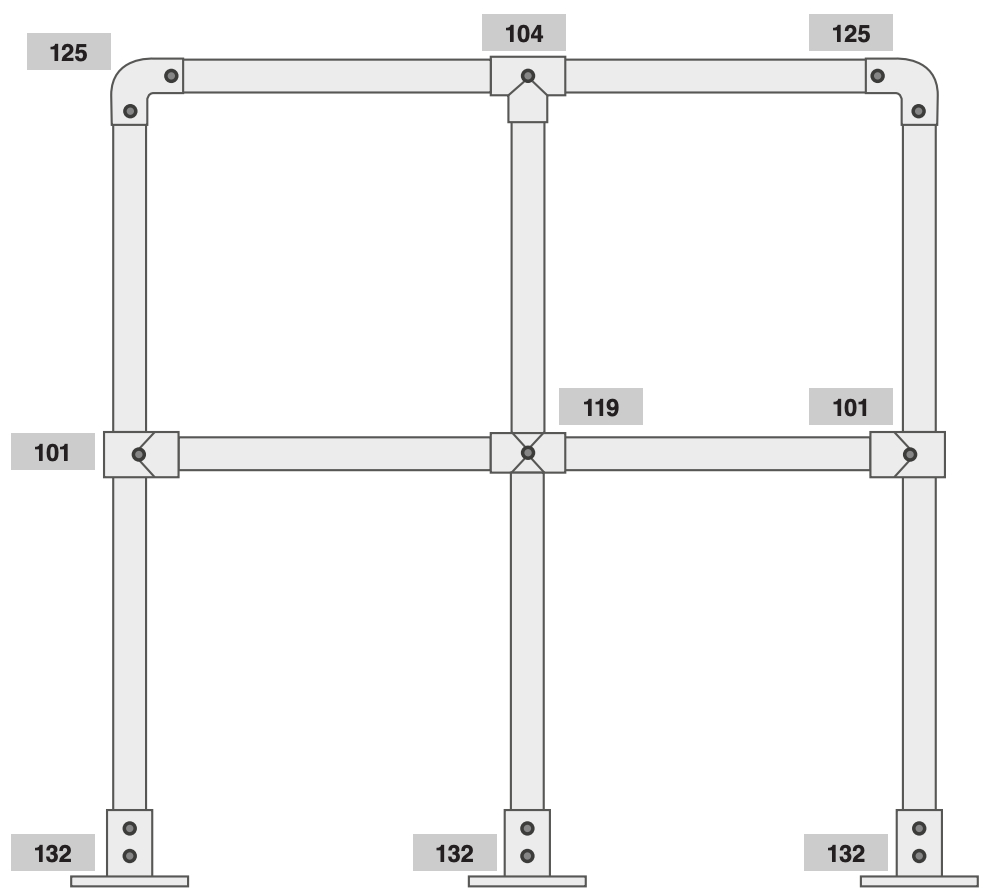
Parts

Step by Step Guide
Step 1
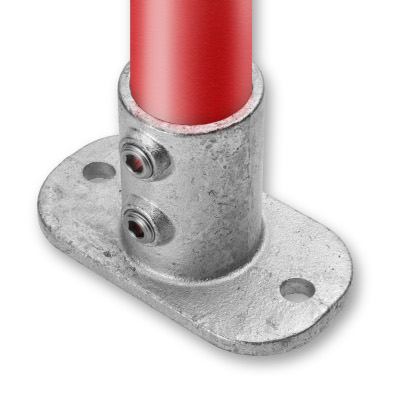
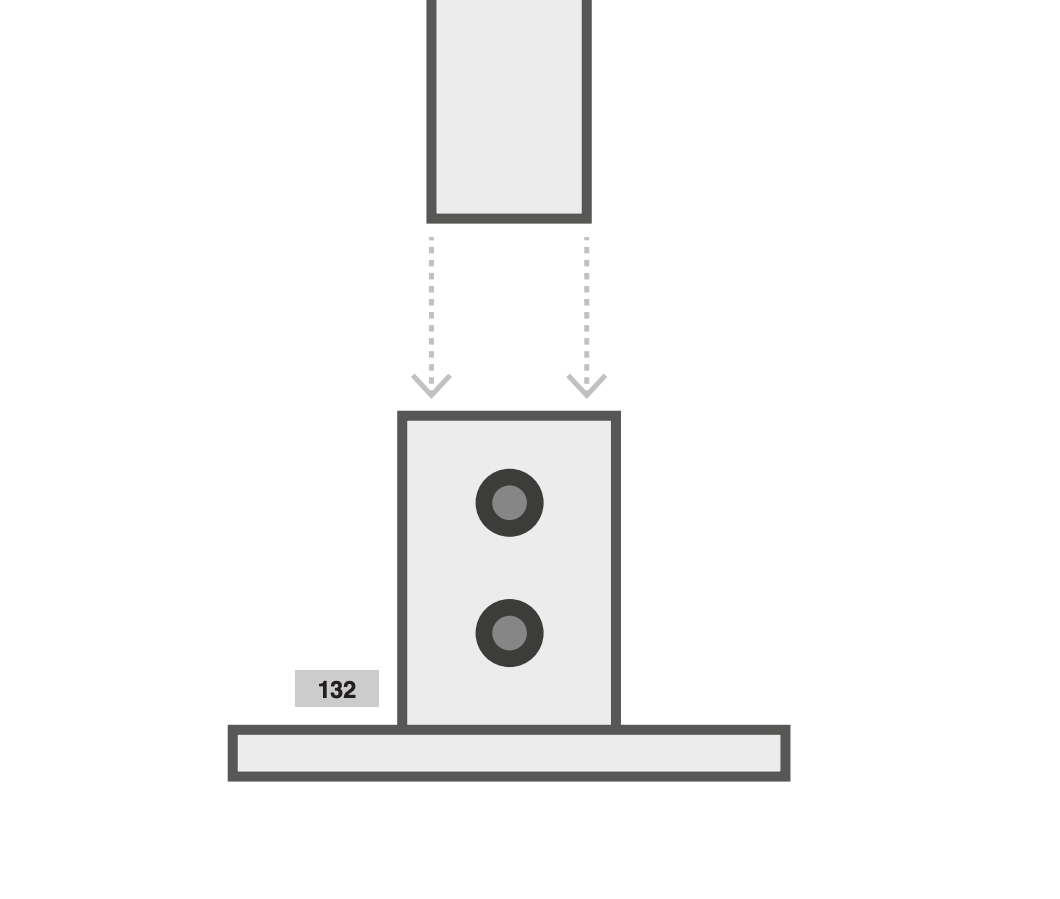
- Take the Base Plate (132) and slide the 1050mm length of galvanised tube into the fitting until it hits the bottom.
- Using the hex key, tighten the grub screws on the fitting to the tube so it remains attached.
- Next slide the middle fitting (101, 116, 119) down the tube to the required position (usually the middle of the upright) and tighten the grub screws.
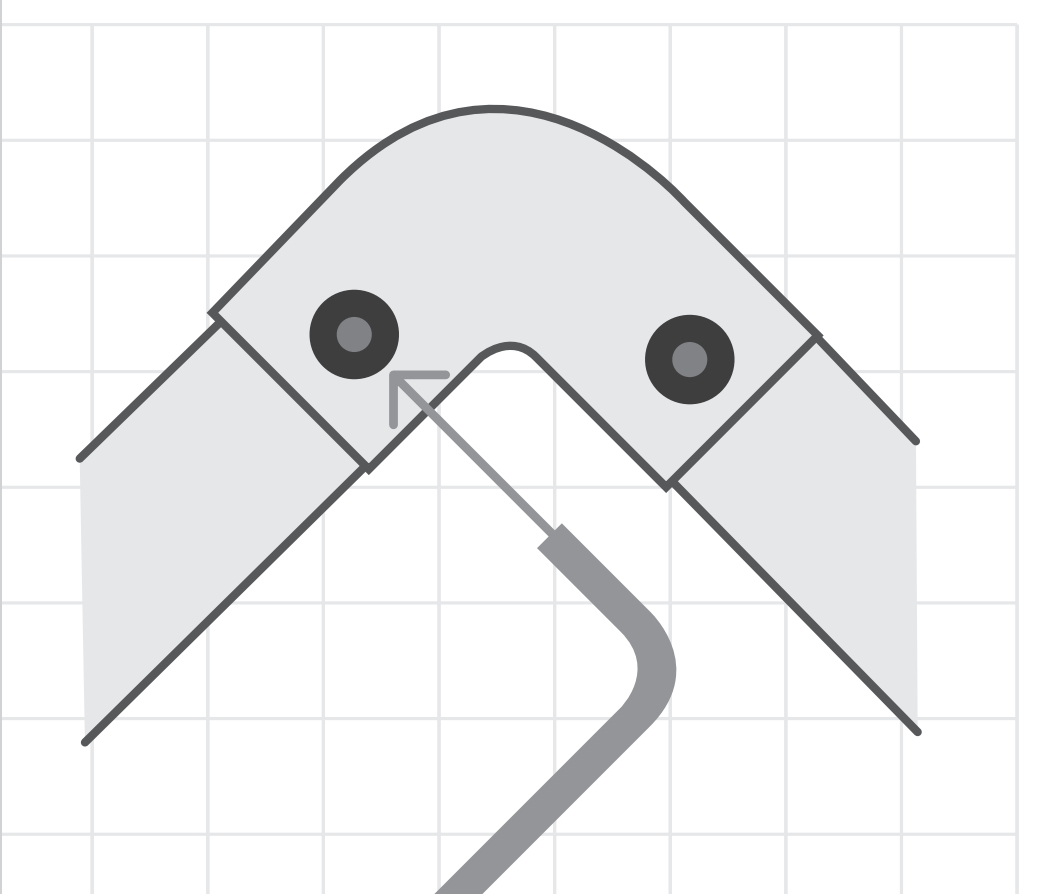
- Finally fit the top fitting (104, 125, 128) ensuring all fittings are aligned.
- You can then tighten the grub screws and your upright post is complete
Step 2
- Place your upright post into position and mark 2 holes to show where needs to be drilled.
- Remove the upright and drill 2 x 12mm holes 100mm deep.
- Place the upright post over the holes and screw the M12 x 100mm through bolts or M14/12 x 100mm Anker bolts (Thunder Bolts) through the Base Plate into the ground and ensure the post is tightly secured.
- Once secured, insert the two horizontal tubes into the top and middle fittings and tighten the grub screws.
Step 3
- At the opposite end of the fixed upright add the second post and slightly tighten the grub screws to the two horizontal tubes.
- Position the second upright post to the required position and mark the floor again to show where needs to be drilled as described in Step 2.
- Place the upright over the holes and fix to the floor.
- Place the horizontal tubes into the top and middle fittings and fully tighten the grub screws to complete this section.
- Repeat these steps if you wish to add more sections.